


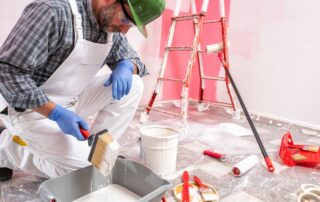
The Real Cost to Paint Kitchen Cabinets vs. Replacing Them in Lafayette
Your kitchen cabinets look tired, and you've started pricing out a fix. Maybe you already searched the cost to replace kitchen cabinets and felt your stomach drop at the numbers. But before you commit to a full teardown, it's worth understanding the cost to paint kitchen cabinets, too. So, [...]

How Long Does Interior Paint Last in an East Bay Home? A Painter’s Honest Take
Maybe you have stood in your living room wondering when to repaint house interior walls. If so, you are already asking the smarter question. The honest answer to how long does interior paint last is this: it leans on the room, not the calendar. I have walked thousands of [...]
How Long Does It Take to Paint a House Exterior Without the Surprises?
You picked the color and cleared your calendar. Now one real question remains: how long does it take to paint a house exterior? It is a fair thing to wonder. The project turns your home into a construction zone until the final coat dries. The honest answer to how [...]
From Flat to Semi-Gloss: A Clear Look at Interior Paint Types for Every Room
You hired a painter, and then they asked what finish you wanted for each room. If you have ever wondered how to choose interior paint without nodding along to words you do not quite follow, you are in good company. Most homeowners already know the color they want. Far [...]

Why Interior Paint Problems Show Up Faster in Orinda Homes Than Anywhere Else
You walk into your living room one morning. There's a faint crack near the ceiling. And a dull patch by the corner. And a thin line peeling along the baseboard. For homeowners in Orinda, CA, weighing interior painting, small flaws can turn into bigger regrets fast. Interior paint problems [...]

New Paint Project in Danville? Here’s How to Pick a Second Paint Color Without a Repaint
Color one was simple. Color two stops the project cold. Most homeowners find that paint color pairing is where the planning falls apart. You held a tan against the trim, then a green, then a soft gray. None of them looked right next to your dominant color. Anyone trying [...]

Repaint or Renovate Walls in Lafayette, CA? What Every Homeowner Should Check First
Interior painting is usually the first option Lafayette homeowners consider when their walls start to look rough. And interior painting earns that reputation. It is fast, affordable, and far less invasive than tearing down walls. But not every wall problem responds to paint. Choosing the wrong fix can cost [...]

How to Remove Paint Smell from a Room Without Waiting Days for It to Clear
The paint is done. The walls look great. But now the smell? That part is harder to ignore. If you want to remove paint odor from house rooms fast, you need a plan. Most people wait it out. But you do not have to. Knowing how to remove paint [...]

Safe Painting Preparation for Kids Bedrooms: 6 Things Orinda Parents Should Do Before Work Starts
You picked the color. You bought the supplies. Now what? Planning interior house painting in Orinda, CA? There is more to the job than picking a color. Your child sleeps there. Plays on the floor there. Breathes the same air all night. That air is what they breathe. Safe [...]
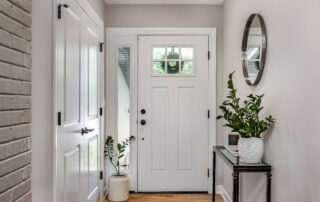
How to Choose Foyer Paint Color: 7 Powerful Tips for Danville Homeowners
When homeowners think about interior house painting in Danville, CA, the entryway rarely comes to mind first. Most people focus on the kitchen or the living room. But the foyer is what visitors see first. And when the foyer color fights with the room behind it, the entire home [...]
