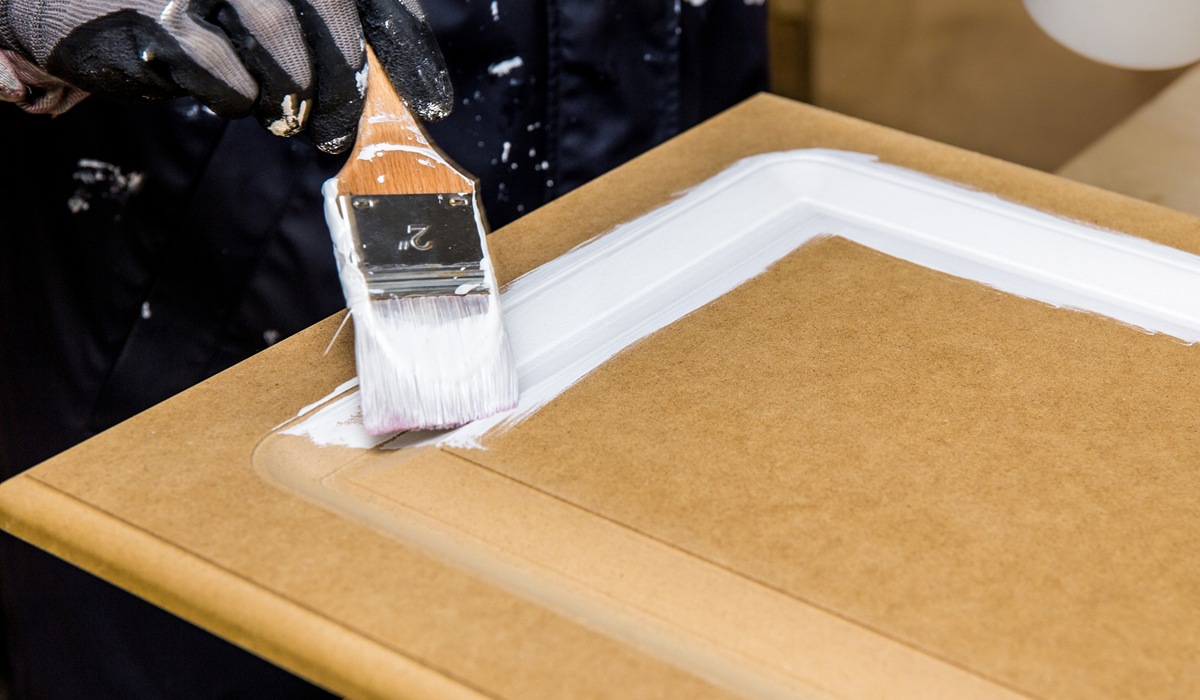
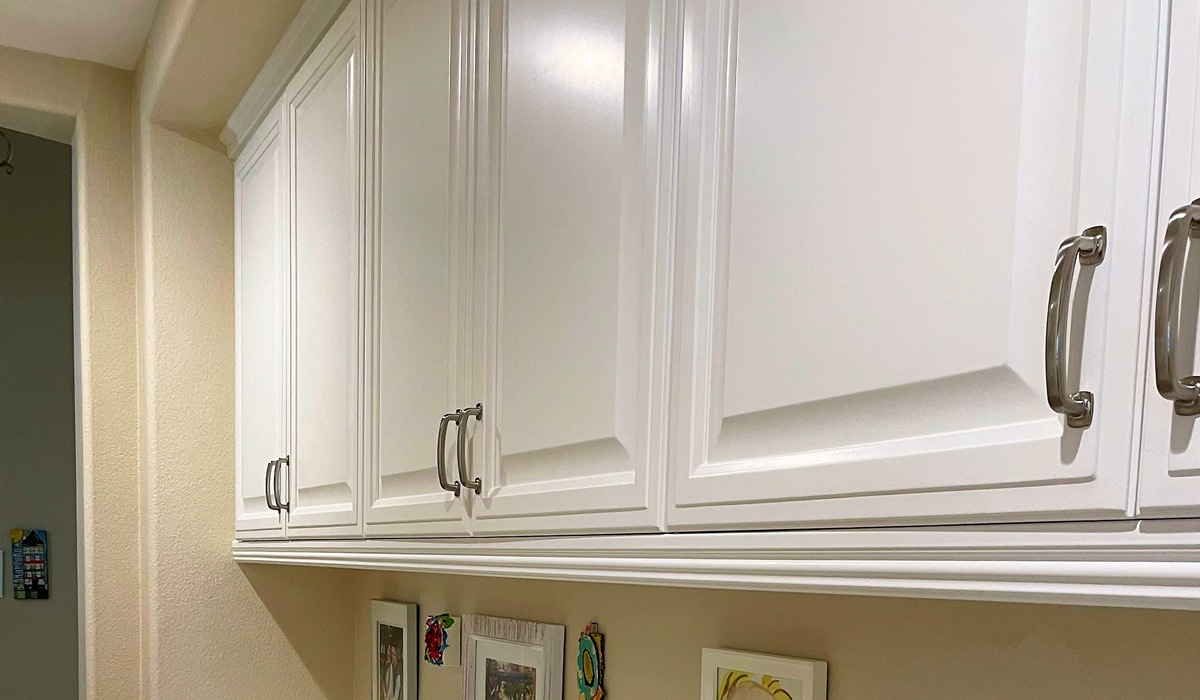
If you’ve ever finished a cabinet painting project only to watch the paint peel, chip, or fade within months, it’s a frustrating outcome that’s more common than you’d think. Many homeowners wonder how to make cabinet paint last and avoid the frustration of a finish that doesn’t hold up. The good news? There’s a fix for every problem—and most are avoidable with the right know-how.
Key Takeaways:
- Use high-quality materials and prep techniques.
- Understand what causes cabinet paint to fail.
- Fixing or avoiding poor paint jobs can save you time and money.
- Professional painters follow proven steps for durability.
- It is possible to get a long-lasting finish with the right approach.

What Causes Cabinet Paint Jobs to Fail?
The short answer? Cutting corners. Here are some of the most common reasons cabinet paint jobs don’t last:
1. Poor Surface Prep
Cabinets that aren’t properly cleaned and sanded before painting are doomed from the start. Grease, grime, and glossy surfaces prevent paint from bonding.
2. Skipping Primer
Primer isn’t optional. It creates a smooth, adhesive surface that helps the paint stick and prevents bleed-through from wood tannins.
3. Using the Wrong Paint
Not all paint is created equal. Standard wall paint won’t cut it for cabinets, which need paint designed for high-traffic, high-touch areas.
4. Rushing the Process
Each layer of primer and paint needs to dry fully before the next goes on. If you rush, you trap moisture and create a fragile finish.
5. Environmental Factors
Humidity and temperature fluctuations can mess with curing times and adhesion. Painting in a garage in the dead of winter? That might be the culprit.
How to Make Cabinet Paint Last
Here are tried-and-true methods that professionals use to ensure a durable, long-lasting cabinet painting project.
1. Prep Like a Pro
Remove all hardware, including hinges, knobs, and drawer pulls, and store them safely for reinstallation later. Clean the cabinets thoroughly using a strong degreaser to eliminate built-up oils and residue, especially around handles and cooking areas. Rinse and dry completely to prevent moisture issues.
Next, sand every surface lightly but thoroughly to create texture for better paint adhesion. Pay special attention to corners and edges. Once sanding is complete, use a vacuum with a brush attachment to remove most of the dust, followed by a tack cloth to catch fine particles and ensure a clean, paint-ready surface.
2. Prime Every Time
Use a high-bonding primer specifically designed for cabinetry. Look for products labeled as stain-blocking or adhesion-promoting, which are ideal for surfaces that have previously been painted or varnished.
Apply the primer evenly and make sure it reaches into any grooves or corners. This not only helps the paint adhere better but also creates a consistent base color, which is especially important if you’re using light or bold paint shades. Don’t skimp or try to save time here—primer is your foundation, and a strong foundation means a longer-lasting, more professional-looking finish.
3. Choose the Right Paint
Go for enamel or alkyd-based paints that are specifically formulated for cabinetry. These paints cure to a hard, durable finish that can withstand daily wear and tear, including frequent touching, cleaning, and exposure to moisture. Enamel paints dry to a smooth, semi-gloss or satin finish that resists chipping, staining, and scratches, making them ideal for kitchen and bathroom environments.
Alkyd-based options, though oil-modified, offer similar durability with a finish that mimics traditional oil-based paints but with easier cleanup and lower odor. Avoid using latex wall paints, which tend to remain soft and can peel or rub off under pressure.
4. Apply Thin Coats
It might feel faster to go thick, but thin, even coats are key to achieving a smooth, durable finish. Thick coats tend to sag, drip, and take much longer to dry—sometimes leading to tacky surfaces that never fully cure. Instead, use a high-quality brush or sprayer to apply two to three light coats, ensuring each layer is completely dry before adding the next.
Follow the manufacturer’s recommended drying times, which can vary based on humidity and temperature. This method not only looks more professional but also strengthens the durability of the paint job over time.
5. Control Your Environment
Paint indoors in a temperature-controlled space if possible, ideally between 60–80°F with low humidity. Temperature and moisture can drastically affect how paint cures. High humidity can cause paint to dry too slowly and remain tacky, while extreme cold can prevent proper bonding, leading to peeling or cracking later.
Likewise, hot, dry conditions can cause the paint to dry too quickly on the surface without adhering well underneath. If you must paint in less-than-ideal conditions, use additives or products formulated to handle those extremes and monitor the environment closely throughout the project.
6. Consider a Topcoat
For added durability, consider applying a clear polyurethane or water-based topcoat after your final coat of paint has fully cured. This additional layer acts as a shield against moisture, grease, and scratches—common issues in kitchens and bathrooms.
Polyurethane provides a hard, protective finish that resists wear, while water-based options tend to have lower odor, quicker drying times, and are less likely to yellow over time. Be sure to choose a topcoat that’s compatible with your paint type and finish (matte, satin, or gloss), and apply it evenly using a high-quality synthetic brush or sprayer for best results.

Fixing a Bad Cabinet Paint Job
If you’re staring at peeling paint or uneven finishes, don’t panic. You can still turn things around.
Step 1: Assess the Damage
Is the paint just peeling in one area, or is the whole surface compromised? Small areas of peeling can often be touched up by sanding and repainting just those spots. But if the peeling is widespread, the finish has likely failed across the entire surface, which means a full repaint is necessary. Consider how deep the damage goes—is it cosmetic or structural?
Has moisture gotten underneath the paint, or is it flaking due to poor adhesion? The extent of the damage will guide your approach and determine whether a quick fix or a complete do-over is the smarter choice.
Step 2: Sand and Strip
Remove all loose or flaking paint using a paint scraper or putty knife, being careful not to gouge the wood. Sand down any uneven areas until the surface is smooth and flush.
If the existing finish is failing across most of the surface, it’s often best to strip the cabinets completely using a chemical stripper or heat gun, followed by detailed sanding. This gives you a clean slate, ensuring that new primer and paint will adhere properly and create a long-lasting finish.
Step 3: Clean and Dry
Clean the cabinets again thoroughly using a degreaser or gentle detergent, making sure to remove all dust, oils, and sanding residue. Pay close attention to corners, grooves, and edges where buildup often hides.
After cleaning, wipe them down with a clean, damp cloth to remove any cleaner residue. Then, let the cabinets dry naturally in a well-ventilated space, ensuring no moisture remains before applying any new primer or paint.
Step 4: Prime and Paint Properly
Follow the prep and painting steps above—this time without shortcuts. Take your time with each phase. Make sure surfaces are completely clean and dry before you even think about picking up a brush.
Don’t rush through sanding or skimp on primer. Choose high-quality products and follow the manufacturer’s recommended drying times between coats. Each detail you perfect now is one less problem you’ll have to fix later.
When to Call a Professional
Sometimes, it’s best to leave it to the pros. If your cabinets have intricate detail, major damage, or if you simply want the job done right the first time, hiring experienced painters is worth the investment.
Professionals use commercial-grade sprayers, temperature-controlled environments, and years of experience to produce a factory-like finish that lasts for years. Plus, they often offer warranties that protect your investment.
The Bottom Line
Cabinet painting can completely transform your kitchen or bathroom—but only if it lasts. Knowing how to make cabinet paint last comes down to proper prep, high-quality materials, and a willingness to take your time. If your cabinet painting project didn’t go as planned, don’t worry. With the right steps, you can fix it and make it better than ever.
Need help making your cabinets look amazing? Call Woodiwiss Painting at 925-489-0941 today and get expert cabinet painting that lasts. We make sure every job is done right, from prep to finish.


